Why Filing a Roof Insurance Claim Doesn’t Have to Be Overwhelming
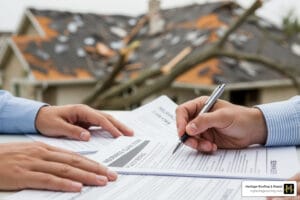
Filing a roof insurance claim is a process that protects your investment after unexpected damage. While navigating insurance paperwork can feel overwhelming, the process becomes manageable when broken down into key stages. Success hinges on understanding your policy, thoroughly documenting the damage, contacting your insurer promptly, getting a professional inspection, having your contractor present when meeting the adjuster, and carefully reviewing the final settlement before accepting.
Finding roof damage after a storm is stressful. With roofing claims skyrocketing due to severe weather, and the average roof replacement cost around $8,500, proper insurance is essential. A full re-roof can easily exceed $10,000, highlighting the importance of a clear roof replacement cost estimate.
Insurance policies cover sudden, accidental damage from events like hail, wind, and fire—not normal wear and tear or neglect. Understanding this distinction, and whether your policy pays Actual Cash Value (ACV) or Replacement Cost Value (RCV), is critical. For over 50 years, Heritage Roofing & Repair has helped homeowners in Northwest Arkansas steer the complexities of filing a roof insurance claim. Proper documentation and professional guidance can mean the difference between a denied claim and a fully restored roof.

First, Understand Your Homeowners Insurance Policy
Before filing a claim, you must understand what your policy covers and excludes. Homeowners insurance is for sudden, accidental damage, not gradual wear and tear. Reviewing your policy documents before damage occurs is the most critical step to protect your investment.
Covered Perils: What Does Your Policy Protect Against?
Standard policies cover roof damage from sudden events. Storm damage from hurricanes, tornadoes, and high winds is the most common claim. Hail damage is often subtle but can cause dents and granule loss that shorten your roof’s lifespan. Wind damage can lift or remove shingles, while fire and smoke damage from various sources is also typically covered. Finally, damage from falling debris like tree branches is usually included.
Policy Exclusions: What Isn’t Covered?
Insurers will not pay for wear and tear or damage from neglect or poor maintenance. If you ignored minor issues that became major problems, your claim will likely be denied. Poor workmanship from a faulty installation is the contractor’s responsibility, not your insurer’s. Many insurers also limit or deny coverage for old roofs (often 20+ years), reimbursing them at a depreciated value. Manufacturer defects are covered by warranties, and floods or earthquakes require separate policies.
Actual Cash Value (ACV) vs. Replacement Cost Value (RCV)
The type of policy you have—Actual Cash Value (ACV) or Replacement Cost Value (RCV)—dramatically affects your payout. This distinction can mean thousands of dollars. We recommend you Watch the Understanding Your Insurance Policy video series to grasp these differences.
- Replacement Cost Value (RCV) is the gold standard. It covers the full cost to repair or replace your roof with new materials of similar quality, minus your deductible. Your out-of-pocket expense is limited to your deductible.
- Actual Cash Value (ACV) policies pay the depreciated value of your roof. According to Actual Cash Value calculations, the older your roof, the lower your payout and the more you pay out-of-pocket.
Here is a sample claim comparison for a 10-year-old roof:
| Policy Type | Replacement Cost (New Roof) | Depreciation (10-year-old roof) | Deductible | Insurer Payout | Homeowner Out-of-Pocket |
|---|---|---|---|---|---|
| RCV | $15,000 | $0 | $1,000 | $14,000 | $1,000 |
| ACV | $15,000 | $5,000 | $1,000 | $9,000 | $6,000 |
Note: This is a simplified example. Depreciation calculations vary.
Financials and Timelines
Your deductible is what you pay out-of-pocket before insurance kicks in, typically $500 to $2,000 or a percentage of your home’s value. Policy limits are the maximum amount an insurer will pay. Ordinance and Law Coverage is vital, as it helps pay extra costs to bring your roof up to current building codes during a replacement. Finally, be aware of your statute of limitations, the time frame you have to file a claim, which varies by state but is typically 2-4 years.
How Roof Age and Maintenance Affect Your Claim
An older roof or one that hasn’t been maintained may receive a smaller payout or be denied entirely. Keeping detailed maintenance records proves to your insurer that you’ve been proactive. A regular Roof Inspection is essential. Your insurer will look for proof of upkeep and proper ventilation. Shingle lifespan (e.g., 20 years for asphalt, 50 for metal) is a major factor in depreciation calculations.
The Step-by-Step Process for Filing a Roof Insurance Claim

Following a methodical approach is key to a smooth claims process. The stronger your documentation and preparation, the better your outcome.
Step 1: Secure Your Property with Temporary Repairs
Your first priority is preventing further harm. Insurers expect you to take reasonable steps to protect your property. If you have a leak, emergency tarping is crucial to prevent interior water damage. Keep every receipt for these temporary repairs, as the costs are often reimbursable.
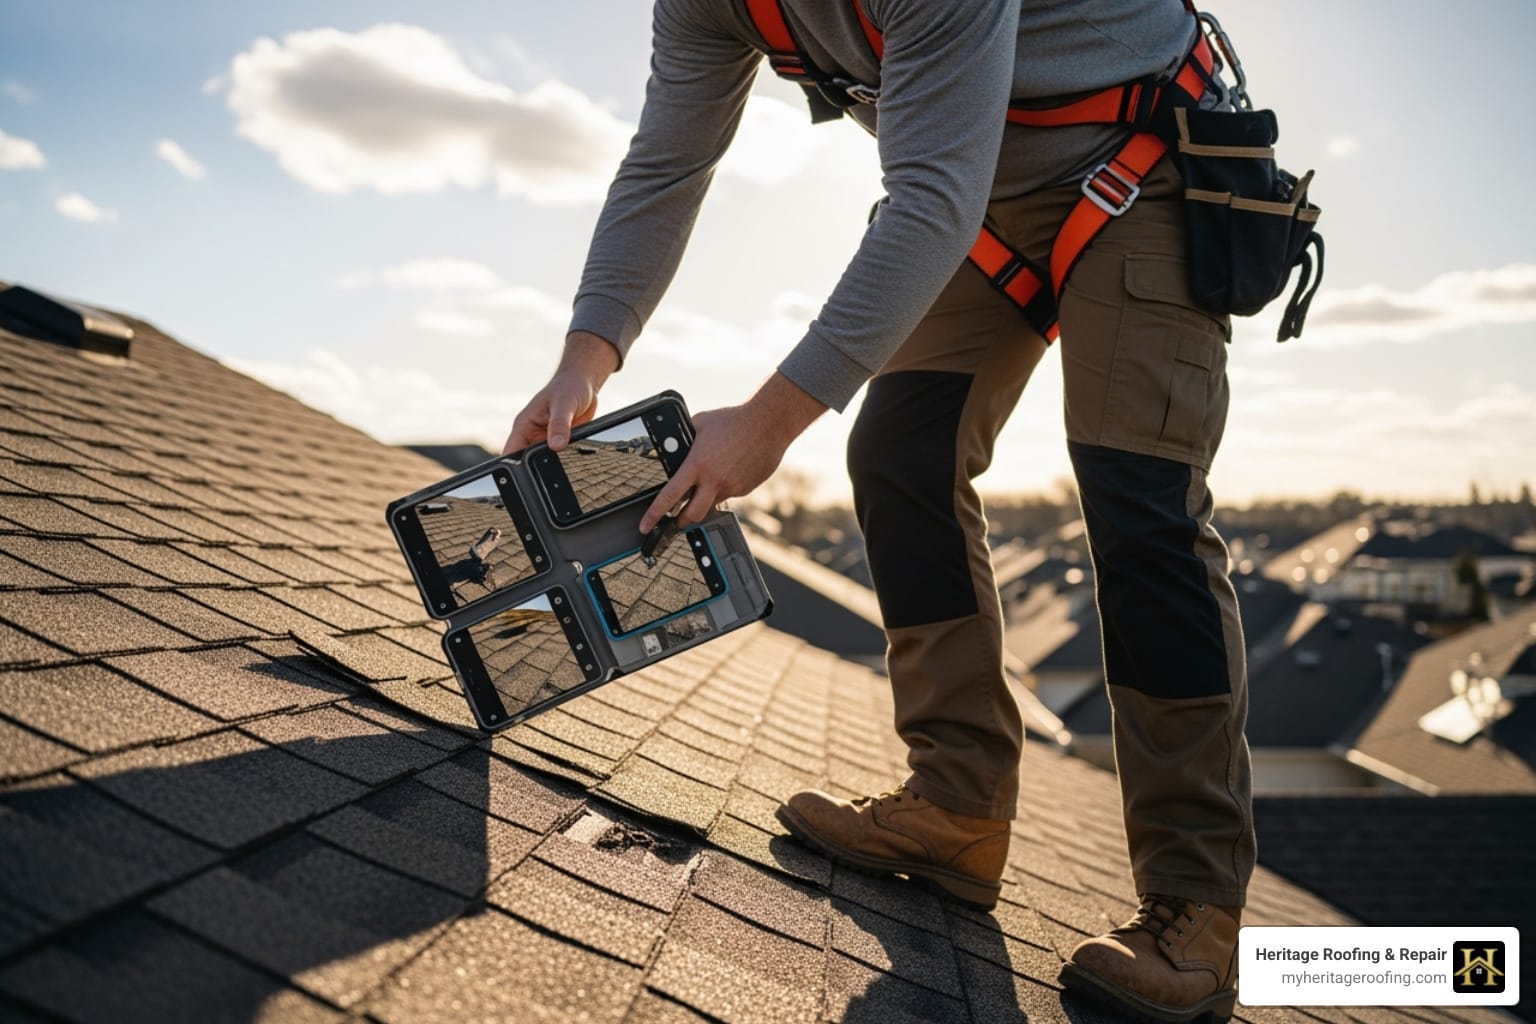
Step 2: Document the Damage Thoroughly
Your claim’s success hinges on providing undeniable proof. Take clear photos and videos from multiple angles, including close-ups and wide views. Timestamps on this media are helpful. Write detailed notes about the damage and gather weather reports for the date of the incident to provide third-party verification.
Step 3: Contact Your Insurance Company Immediately
Don’t delay notifying your insurer, as most policies have reporting windows. You’ll be assigned a claim number—keep it safe. Have your policy number ready and provide a clear, factual description of the damage. Ask about your coverage limits, deductible, and the expected timeline.
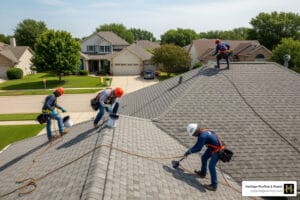
Step 4: Get a Professional Roof Inspection and Estimate
Before the adjuster arrives, have a licensed roofing contractor perform an inspection. A professional can identify all damage, even subtle issues. Their detailed, written contractor’s estimate outlines the full scope of work and becomes a powerful negotiating tool. Our Free Roof Estimate Guide 2025 explains what a comprehensive estimate should include.
Step 5: Meet the Insurance Adjuster
This meeting is the most critical step. The adjuster assesses the damage and determines the validity and value of your claim, often using software like Xactimate. We strongly recommend having your chosen Experienced Roofing Contractor present during this inspection.
Your contractor acts as your advocate, pointing out all damage to ensure nothing is overlooked. They can explain technical aspects, discuss necessary code upgrades, and address any discrepancies in the scope of work on the spot. This prevents delays and underpayment. At Heritage Roofing & Repair, we have attended hundreds of adjuster meetings and know how to ensure every piece of legitimate damage is documented.
Heritage Roofing & Repair
3458 Arkansas State Hwy 221, Berryville, AR 72616
(870) 654-1164
Navigating Common Challenges: Denials, Scams, and Contractor Choice
Even with perfect preparation, you can face problems. Knowing how to handle claim denials, spot scams, and choose the right partner is crucial.
What to Do If Your Roof Insurance Claim is Denied
A denial is not the end of the road. You have the right to appeal. Start by requesting the denial reason in writing. Common reasons include insufficient damage, pre-existing conditions, improper installation, or wear and tear. Waiting too long to file can also jeopardize your claim.
To appeal, review the denial letter, consider asking for a second adjuster, and provide new evidence like detailed contractor reports or weather data. For complex cases, a structural engineer can provide an unbiased opinion. For high-value claims, a public adjuster works for you to negotiate a fair settlement. For more guidance, see our Roofing Insurance Claims Ultimate Guide.
How to Avoid Roofing Scams
After a storm, be wary of storm chasers—out-of-state contractors looking for quick profits. They often do shoddy work and disappear after payment. Red flags include high-pressure tactics and unsolicited door-to-door sales. Always verify a contractor’s local office, license, and insurance before engaging.
How to Choose a Reputable Roofing Contractor for Insurance Work
The right contractor is your most important ally. Look for a local company with a proven track record of handling insurance roof claims in your area, such as in Harrison, Arkansas and the surrounding communities.

Local reputation is critical. A contractor with deep roots in your community, like our team serving Harrison, has a vested interest in maintaining their good name. Check online reviews and ask for recommendations.
Always verify that your contractor is licensed, bonded, and insured. Ask for references from recent local projects. Get everything in a written contract that outlines the scope of work, materials, timeline, and payment schedule.
An experienced contractor will also understand local building codes and ensure your new roof meets all requirements, helping you leverage Ordinance and Law coverage. If you’re outside our service area, resources like IKO’s contractor finder can help you locate qualified professionals.
Finalizing Your Claim and Getting Your New Roof
Once your claim is approved, you will receive a settlement offer. For RCV policies, this is typically broken into two payments: the first is the ACV, and the second (recoverable depreciation) is paid after the work is complete.

Reviewing the Settlement and Supplementing Your Claim
Carefully compare the insurer’s estimate against your contractor’s assessment. Insurance software doesn’t always capture the full picture. A skilled contractor can identify missing items like labor costs, dump fees, and code-required upgrades. Supplementing the claim is a normal process where your contractor provides additional documentation to justify these costs, ensuring you receive the full payout you’re entitled to.
Receiving Payment
For RCV policies, you’ll typically receive two checks. The first covers the Actual Cash Value (ACV) of your roof, minus your deductible. The second check for the recoverable depreciation is released after your contractor submits the final invoice. If you have a mortgage, your checks will likely be made out to both you and your lender, requiring your mortgage company’s endorsement.
Scheduling Repairs and Getting Your New Roof
With funding approved, work with your contractor to select materials and establish a project timeline. A reputable contractor will provide a realistic timeframe and keep you updated. Once the work is complete, your contractor will provide a final invoice. Submit this to your insurer to trigger the release of any remaining funds. Keep copies of all documents, including the invoice, proof of payment, and warranty information.
Frequently Asked Questions About Filing Roof Insurance Claims
Should I get a roof inspection before filing a claim?
Yes, absolutely! A professional inspection from a trusted roofing contractor provides an accurate assessment of the damage and a detailed estimate. This documentation is crucial for validating your claim with the insurance company and ensures no damage is overlooked. It can also help you determine if the damage is significant enough to warrant a claim, potentially saving you from a claim that falls below your deductible or impacts your premiums unnecessarily.
How much is a roof deductible?
A deductible is the out-of-pocket amount you must pay before your insurance coverage begins. It is often a fixed dollar amount, usually $500 to $2,000, but it can be higher. Alternatively, it may be a percentage of your home’s insured value (e.g., 1-3%). For example, if your home is insured for $300,000 and you have a 1% deductible, you would pay $3,000 out of pocket. Always check your policy to confirm your specific deductible amount.
Can a roofing contractor file the claim for me?
While a contractor can provide invaluable assistance and guidance throughout the process, the homeowner must be the one to initiate and file the claim directly with their insurance company. However, an experienced contractor, like our team, can guide you through every step, meet with the adjuster on your behalf, and handle all communication regarding the scope of work and necessary supplements. This is a core part of our Insurance Roof Claims service, ensuring you have expert representation.
Protect Your Investment with a Smooth Claims Process
Filing a roof insurance claim can feel daunting, but with the right knowledge and a trusted partner, you can steer the process with confidence. The key is understanding your policy, documenting everything, and working with an experienced local roofer who knows the ins and outs of insurance claims.
Insurers cover sudden, unexpected damage—not gradual wear and tear. When storm damage strikes, acting quickly and methodically makes all the difference. By following the steps outlined in this guide—from understanding ACV vs. RCV coverage to meeting with adjusters—you can protect your investment and ensure your home gets the repairs it deserves.
Your home is your biggest asset. Don’t let a complicated claims process stand between you and the protection you’ve paid for. With the right approach, you can get your roof—and your peace of mind—restored.