Stop Leaks and Extend Your Roof’s Life
A damaged shingle can quickly lead to costly water damage inside your home. Learning how to perform a 3 tab shingle repair is a valuable DIY skill that protects your property and saves you money. As one of the most dependable roofing companies in Northwest Arkansas, we want to empower homeowners to handle minor issues confidently. This guide provides everything you need to know to get started.
Quick Answer: How to Repair 3-Tab Shingles
- Break the seals on shingles above the damaged one with a flat pry bar.
- Remove the nails securing the damaged shingle (typically 4-8 nails).
- Slide out the old shingle and slide in the new replacement.
- Nail the new shingle in place with four roofing nails.
- Replace the nails in the overlying course of shingles.
- Seal with roofing cement under all tabs for a watertight finish.
A properly maintained roof is your home’s first line of defense. While 3-tab shingles typically last 15-20 years, they are vulnerable to damage from wind and storms, with a wind rating of only 60 mph. In contrast, modern architectural shingles can withstand 110-130 mph gusts. The good news is that most isolated 3-tab shingle damage is repairable if caught early. A well-executed 3 tab shingle repair can last for the remaining lifespan of your roof, provided the surrounding shingles are in good condition.
This guide walks you through identifying damage, gathering materials, and executing a professional-quality repair. I’m Rex Wisdom, owner of Heritage Roofing & Repair. My family has served Berryville and Northwest Arkansas for over 50 years, and I’m here to share our expertise to help you make informed decisions about your roof.

Why Your 3-Tab Shingles Fail: Identifying Common Damage
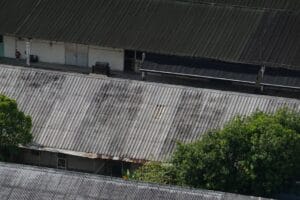
Roofs in Northwest Arkansas endure intense UV exposure, hail, and heavy rain. While asphalt shingle roofs are generally low maintenance, 3-tab shingles have specific vulnerabilities. The main culprits for failure are environmental forces and natural aging. Their design makes them particularly susceptible to damage from high winds and strong storms.
Common failure reasons include high winds tearing shingles, hail impacts causing granule loss, and general wear. Addressing these issues promptly is crucial to prevent minor problems from becoming major leaks. More info about Asphalt Shingles.
Signs It’s Time for a 3-Tab Shingle Repair
Regular visual inspections in the spring and fall can help you catch problems early. Here’s what to look for:

- Curled Edges: Shingles curling up or down signal aging or heat exposure. This breaks the sealant bond, making them vulnerable to wind and water.
- Bald Spots: Missing granules expose the underlying asphalt to UV rays, accelerating decay. You may also find granules in your gutters.
- Dark Streaks (Algae): While not a structural emergency, algae can hold moisture and degrade the shingle surface over time.
- Cracked Tabs: Caused by temperature swings or impacts, a cracked tab is a direct path for water intrusion.
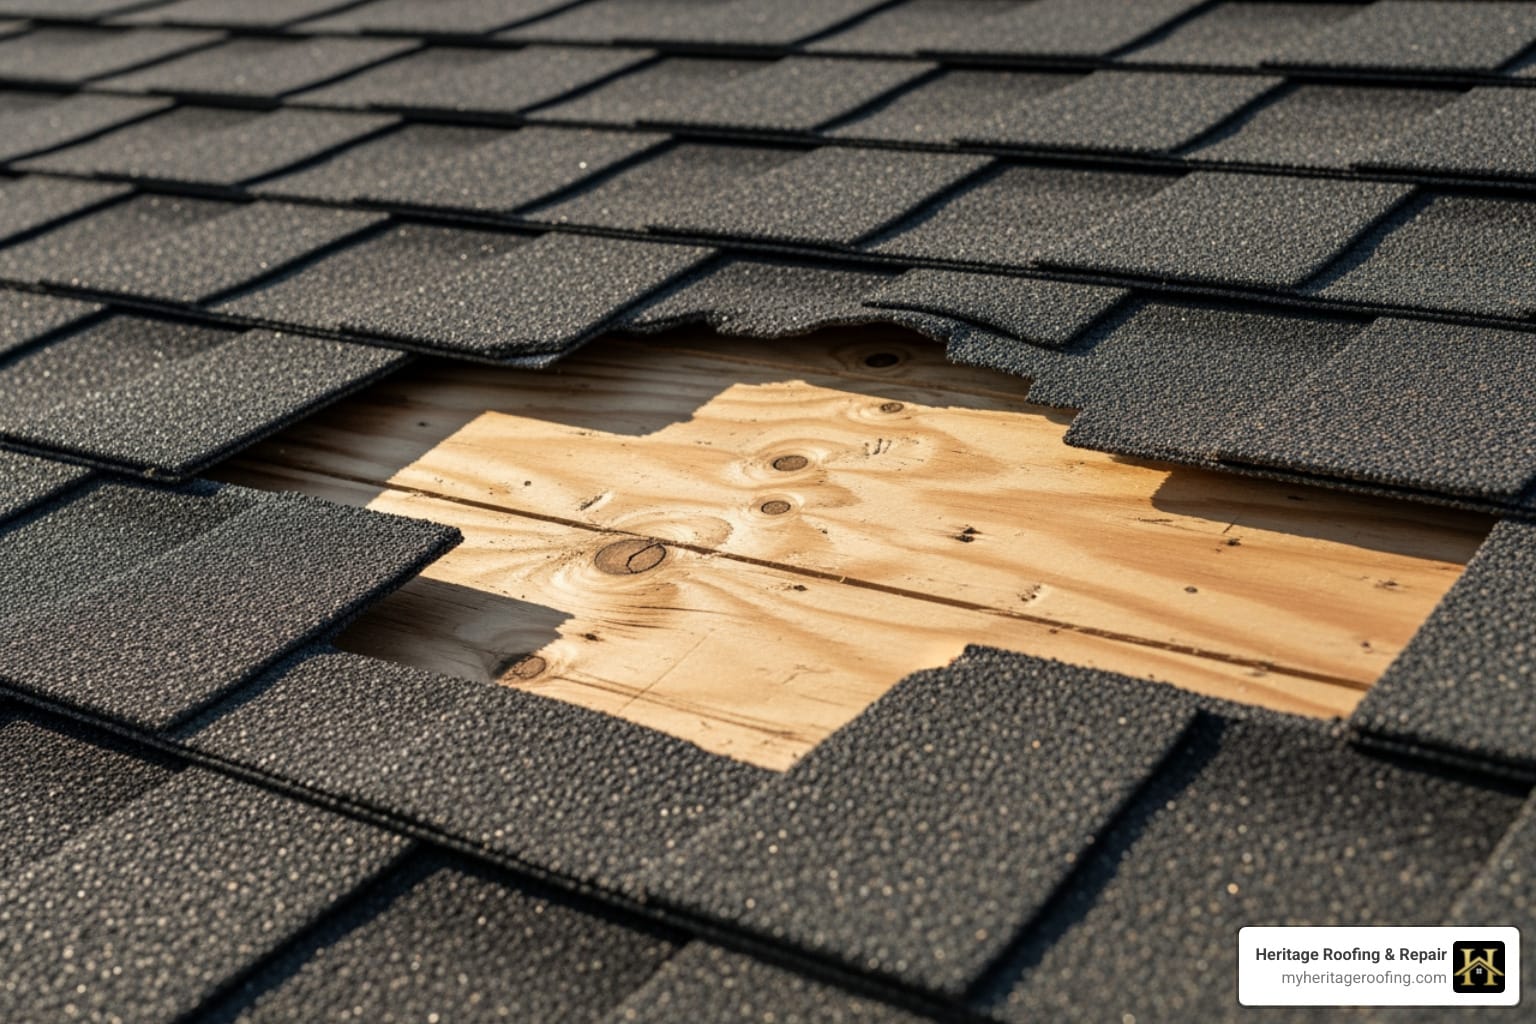
- Missing Tabs or Shingles: This is the most obvious sign of wind damage and leaves your roof deck exposed to leaks.
- Water Stains in Attic: Stains on your ceiling or in the attic are a definitive sign of a roof leak that requires immediate investigation.
Storm Damage vs. Old Age
Distinguishing between storm damage and age-related wear is key for deciding on repairs and for potential insurance claims.
- Storm Damage: This is typically isolated. A few missing shingles after a windstorm or a puncture from a tree limb are classic examples. If the rest of your roof is under 15 years old and in good shape, a targeted 3 tab shingle repair is the perfect solution.
- Old Age (Widespread Failure): If you see widespread curling, cracking, or granule loss, your roof is likely showing its age. 3-tab shingles last 15-20 years. If they are failing systemically, individual repairs are only a temporary fix, and a full roof replacement is the more practical long-term solution.
Gather Your Gear: The Complete DIY Tool & Materials Checklist
Having the right equipment makes your 3 tab shingle repair safer and more efficient. Safety is always the top priority when working on a roof.

Essential Tools
- Pry Bar (Flat Bar): For gently lifting shingles and prying out nails.
- Hammer: For driving new roofing nails.
- Utility Knife: For cutting shingles. Keep extra blades handy.
- Caulking Gun: To apply roofing cement.
- Tape Measure: For accurate shingle placement.
- Chalk Line: To create straight alignment lines.
- Ladder: Must extend at least 3 feet above the roof edge and be on level ground.
- Safety Harness: Highly recommended for roofs with a pitch over 4/12.
- Protective Eyewear & Heavy-Duty Gloves: To protect from debris and sharp edges.
- Soft-Soled Shoes: For good traction on the roof.
Necessary Materials
- Replacement 3-Tab Shingles: Finding an exact color match can be difficult as these shingles are being phased out. Buy a few extras for future repairs.
- 1 ¼-inch Galvanized Roofing Nails: Specifically designed for roofing, with wide heads to hold shingles securely and resist rust.
- Asphalt Roofing Cement/Sealant: To create a watertight seal under the new and disturbed shingle tabs.
Your 7-Step Guide to Flawless 3-Tab Shingle Repair
Replacing a damaged 3-tab shingle is a manageable project that usually takes less than an hour. Precision and patience are key.
Pro Tip on Timing: Perform this repair on a dry day with temperatures between 50-70°F. In this range, shingles are pliable but the old sealant is brittle enough to break cleanly. Avoid hot days when sealant is gooey and cold days (below 40°F) when shingles can crack.
Step 1: Break the Seals
- Locate the damaged shingle.
- Gently slide your flat pry bar under the tabs of the shingles in the row above the damaged one.
- Work slowly to break the factory sealant bond without tearing the overlying shingles.
Step 2: Remove the Nails
- Each 3-tab shingle is held by its own nails and the nails from the course above it.
- Once the overlying shingles are lifted, you’ll see the nail heads securing your damaged shingle.
- Use your pry bar or hammer claw to gently lift and remove these nails (typically 4-8 total).
Step 3: Remove the Damaged Shingle
- With the seals broken and nails removed, the old shingle should slide out from under the course above.
- If it resists, double-check for any missed nails.
Step 4: Slide in the New Shingle
- Carefully slide the new 3-tab shingle into the empty space.
- Align it with the surrounding shingles, maintaining the correct 5-inch exposure (the visible portion).
Step 5: Nail the New Shingle
- Proper nailing is critical. Secure the new shingle with four galvanized roofing nails.
- Place nails about 5/8″ above the tab cutouts, just below the sealant strip. This ensures the nails are covered by the shingle above.
- Drive nails straight and flush with the shingle surface. For more details, see this guide on How To Replace Damaged Shingles.
Step 6: Replace Nails in the Overlying Course
- Re-secure the shingles in the course above the repair.
- Carefully lift their tabs and drive new nails into the original holes.
Step 7: Seal for a Watertight Finish
- This final step is crucial for wind and water resistance.
- Apply three quarter-sized dabs of asphalt roofing cement under each tab of the new shingle.
- Also apply cement under any adjacent shingle tabs you loosened.
- Press the tabs down firmly. This manual seal provides immediate protection while the sun activates the factory sealant over time.
The 3-Tab Dilemma: Matching, Availability, and Pro Tips
A challenge in a 3 tab shingle repair is finding replacement shingles that match your existing roof. This is a direct result of a major shift in the roofing industry.
Why You Can’t Find a Matching Shingle
Finding a perfect match is nearly impossible for a few key reasons:
- Manufacturer Discontinuation: As technology improved, manufacturers shifted production from 3-tab shingles to more durable architectural shingles. Many 3-tab colors and styles are no longer made.
- Limited Color Options: The variety of 3-tab colors available today is a fraction of what it was 10-15 years ago.
- Weathering and Sun-Fading: A new shingle, even of the same brand and color, won’t match a roof that has been exposed to years of sun and rain. The original color inevitably fades over time.
What to Do When You Can’t Find a Match
When a perfect match is unavailable, you have a few options:
- Use the Closest Color Match: This is the most common solution. A close match is far less noticeable than a missing shingle.
- Harvest a Shingle: A clever pro-tip is to take a matching shingle from a less visible area of your roof (like over a back porch) to use for the repair. Then, place the new, mismatched shingle in that hidden spot.
- Consider a Small Section Replacement: For a concentrated area of damage, replacing a small, defined section with the closest available shingle can look more intentional than scattered, mismatched patches.
Can I Replace Just One Tab? A Word of Caution
A common question is whether you can just cut out and replace a single damaged tab. The answer from all roofing experts is definitive: No, you must replace the entire shingle strip.
A 3-tab shingle is a single, integrated unit. Its waterproofing relies on the continuous sealant strip and the specific placement of nails along its top edge. Cutting out a single tab compromises this system, creating weak points that will inevitably lead to leaks. For a lasting repair, always replace the whole shingle.
Repair or Replace? Making the Right Call for Your Roof
Homeowners often face the choice between a spot repair and a full roof replacement. The right decision depends on your roof’s age, the extent of the damage, and your budget.
| Feature | Spot Repair (3-Tab Shingle Repair) | Full Roof Replacement |
|---|---|---|
| Cost | Low initial cost ($100-$300 for a few shingles). | Significant investment ($7,000-$12,000 average). |
| Time | Quick (1-3 hours for a few shingles). | Longer process (1-3 days). |
| Longevity | Lasts the remaining life of a healthy roof. | A long-term solution (20-50 years). |
| Best For | Isolated damage on a roof < 15 years old. | Widespread damage, roofs > 20 years old, or upgrades. |
| Aesthetics | Potential for color mismatch. | Uniform, new appearance with upgrade options. |
| Wind Resistance | Maintains existing 60 mph rating. | Upgrade to 110-130 mph architectural shingles. |
When to Repair
A targeted 3 tab shingle repair is the most practical choice when:
- Damage is isolated to a few shingles from a specific event (e.g., fallen limb).
- Your roof is less than 15 years old and otherwise in good condition.
- You need an immediate, budget-friendly fix.
A well-done repair can last for the remaining lifespan of a healthy roof. For more details, see our Shingle Roof Repair Guide 2025.
When to Replace
A full roof replacement is the wiser long-term investment when:
- You see widespread aging like curling, cracking, or extensive granule loss.
- Your 3-tab roof is over 20 years old and nearing the end of its lifespan.
- You are dealing with frequent leaks in different areas.
- You want to upgrade to more durable architectural shingles for better protection and home value.
While a replacement costs more upfront, it’s often more cost-effective than repeated, failing repairs on an old roof. Explore your options in our Roof Replacement Cost Complete Guide.
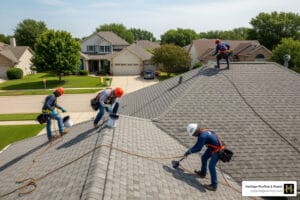
When to Call the Professionals in Berryville, AR
While repairing a single shingle is a great DIY skill, some situations require a professional roofer. Your safety and your home’s long-term integrity are paramount.
We strongly recommend calling a professional if you encounter:
- Extensive Damage: If more than a small patch of shingles is damaged.
- Steep Roof Pitch: Working on steep roofs (over a 4/12 pitch) is dangerous without proper safety equipment and training.
- Signs of Deck Rot: Soft spots on your roof indicate underlying structural damage that needs an expert.
- Lack of Confidence: If you’re uncomfortable on your roof or unsure about the process, it’s best to call a pro.
- Storm Damage Insurance Claims: A professional roofer can provide accurate damage assessment and documentation for your claim.
Deciding between DIY vs Professional Roofing is a critical choice. For homeowners in Berryville, Fayetteville, Harrison, and throughout Northwest Arkansas, our team at Heritage Roofing & Repair is ready to help with over 50 years of trusted experience.
Heritage Roofing & Repair
3458 Arkansas State Hwy 221, Berryville, AR 72616
(870) 654-1164
Conclusion: Protect Your Investment with Proper Roof Maintenance
Performing a 3 tab shingle repair is a valuable skill that protects your home from water damage and saves money. By following these steps, you can confidently handle minor roof issues before they become major problems. Regular Roof Maintenance is the key to maximizing your roof’s lifespan and ensuring it provides reliable protection.
While we encourage homeowners to tackle manageable DIY tasks, it’s crucial to know when to call in the experts. If your roof has extensive storm damage, if you’re unsure about the repairs needed, or if safety is a concern, don’t hesitate to get a professional opinion. For a comprehensive inspection and expert service, contact our team of trusted roofers in Fayetteville, AR. At Heritage Roofing & Repair, we’re here to ensure your roof is in top condition.